Click here on Anjali's Creativity to Shop Here

Diya

Thursday, November 26, 2009

FLOWER ARRANGEMENTS!

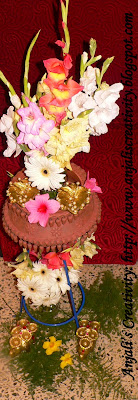
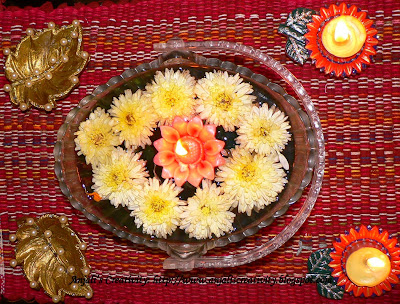
FLOWER ARRANGEMENTS!!
There is nothing more beautiful than flowers in bloom arranged artfully in a delicate, crystal vase.
There are no hard and fast rules, but there are steps that you can take in order to create your own beautiful flower arrangements that you can be proud of.

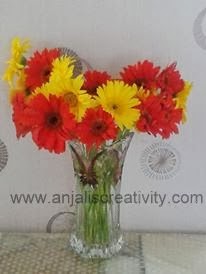
1: Use Your Instincts: The great thing about flower arrangements is that it takes so little from you to make them look beautiful. After all, flowers are things of beauty on their own. Trust your instincts. Let your eyes be your guide. Just pay attention and you will instantly know which flower arrangements are more pleasing to the eyes.
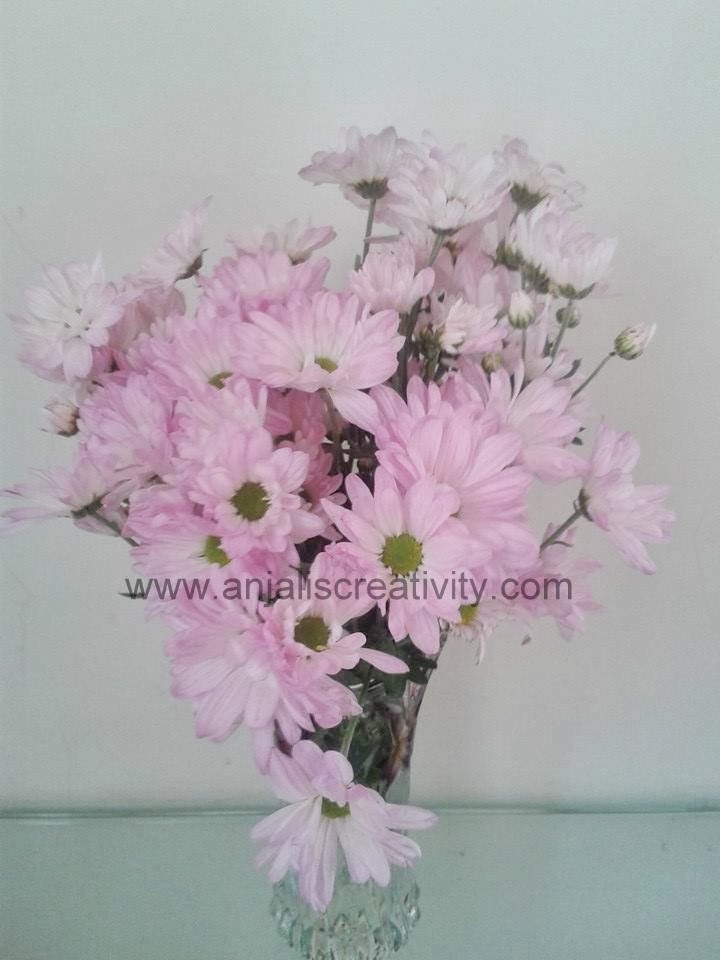
2: Cluster Small Flowers in Groups: Have you noticed how small flowers tend to disappear when placed in large flower arrangements? With all these large and more assertive blooms around them, the small flowers get overwhelmed. Moreover, they are also harder to grab and reposition. By grouping smaller flowers together, it would be easier for you handle them and give your flower arrangements a more distinctive impression. You can do this by putting them close to each other or bundling them together with the use of a ribbon, rubber bands, floral wire, or floral tape.
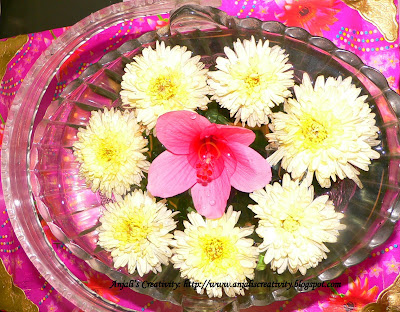
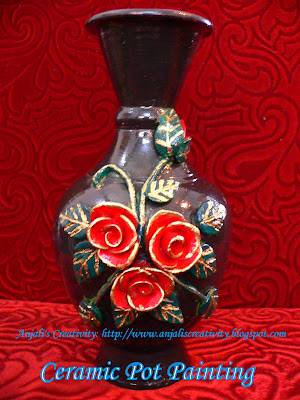
3. On Single Blooms: Another common arrangement that people often resort to is a lone rose in a bud vase. While single bloom types of flower arrangements are always elegant, experiment with this method and add your own style. You can, for instance, make several single bloom flower arrangements positioned in several parts of the house – from small blooms inside wine glasses or tea cups to large blooms in bowls. That way, the lone rose in a bud vase can look even more distinctive in a room full of different flower arrangements.
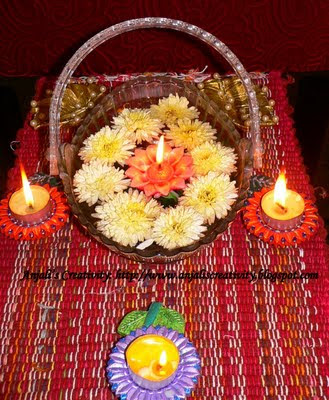
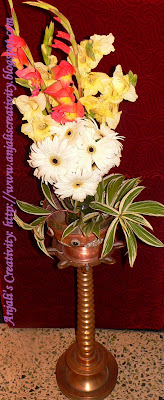
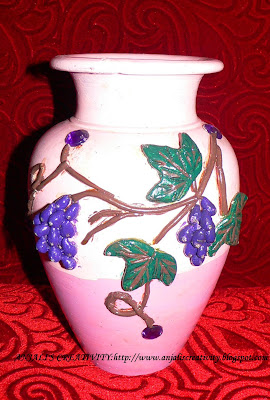
4. Use the Right Container: Use containers that match the type of flower arrangements. The good thing is that most flower arrangements are unique. So match them up with unique containers as well. You do not have to arrange your flowers in a typical vase. If you feel that your blooms look prettier in a different container, then do so. You can even use bottles, smaller vases, tea cups, and wine glasses. And the overall effect would be a refreshing look to your flower arrangements.


Saturday, November 21, 2009

TERRACOTTA PAINTING !!

Terracotta Frame Painting!!
The word "terracotta" comes from Latin and means "baked earth". The natural texture of terracotta provides the perfect canvas for the budding artist to bring extra color and style into the garden or home.

1. Select different shape, size and design frames of your choice.

2. Sand away any rough spots or loose clay particles on the frame. You can wash the frame and allow it to dry in sun before you start working on it.

3. Paint the frame with color of your choice (acrylic paints) 2-3 coats - let dry. Hobby Ideas paint is a good brand for terra cotta. You can find hobby ideas at most craft stores.

4. When it dries completely you can decorate it with different color stones, kundun’s, variety of laces and also can do tikli work on it. When you're finished decorating/painting your terracotta frame, let it dry thoroughly, overnight is best.
5. You can hang these frames on wall or on the entrance of the house. :)

6. Similarly you can paint Terracotta pots also. When it comes to painting frames/pots your imagination is your only limitation. The possibilities are endless. Painted frames/pots make great gifts and are a fun way. :)

Monday, November 2, 2009

CERAMIC WORK

~ CERAMIC WORK~
Here I am posting some of the ceramic work done by me. It is quite a task to mould the different shapes of leaves, flowers and other details in the beginning but later on with practice and patience I could do them quite easily. One more important thing about doing ceramic work is too use lot of imagination and experimenting, then only we can create many new things or otherwise we end up doing nothing but roses and leaves etc. The dough we prepare for ceramic work must be more bendable, elastic and soft then only the work comes out without any cracks. Use good quality ceramic powder for the dough making as it plays the most important role in it. Prepare the dough by mixing ceramic powder + fevicol. I have used acrylic and enamel paints for coloring. Will try to post some more of the works in the future. :-)


Ceramic Pot Painting

This is Ceramic pot Painting. You can make any designs like figures, flowers or just tapping some ceramic here and there and painting on them with different colours with ceramic dough. So try out some different designs.
I have tried out making roses on this pot.


I have tried out making grapes on this pot.

Ceramic Tile Painting

This is Ceramic tile painting, this one is a different design. On it’s back side I have made a hook so that we can hang it on a wall as a wall piece.

Ceramic Pen Stand

You can make lot of things using ceramic. Ceramic pen stand sounds different but its nothing different than the making of ceramic pot painting. Its not only designing pot using ceramic powder there are different things you can make out of this ceramic dough. Here I made a beautiful and useful pen stand.
Materials:
1. Ceramic powder
2. Fevicol
3. Card board
How to make:
1. Make dough of ceramic by mixing ceramic powder and fevicol and take small pieces out of it, roll the dough as shown.

2. Now make it into triangle, oval shape or any shape that you like to. 3. Take card board as base and place these pieces one above the other and make a beautiful pen stand.
4. After drying it colour the stand and decorate it as you want.
Handmade things are always natural and good looking, so here is one beautiful handmade pen stand for you. You can make different shapes and sizes.
Here is the one I made. :-)